
HOA Pool Leak Response Checklist for Managers and Boards
The short answer
When an HOA pool may be leaking, first protect swimmers and equipment, disable any auto-fill long enough to measure safely, document the water level and operating conditions, and preserve utility and service records. Authorize diagnosis before repair: isolating and testing the system gives the board a defensible scope instead of an open-ended excavation estimate.
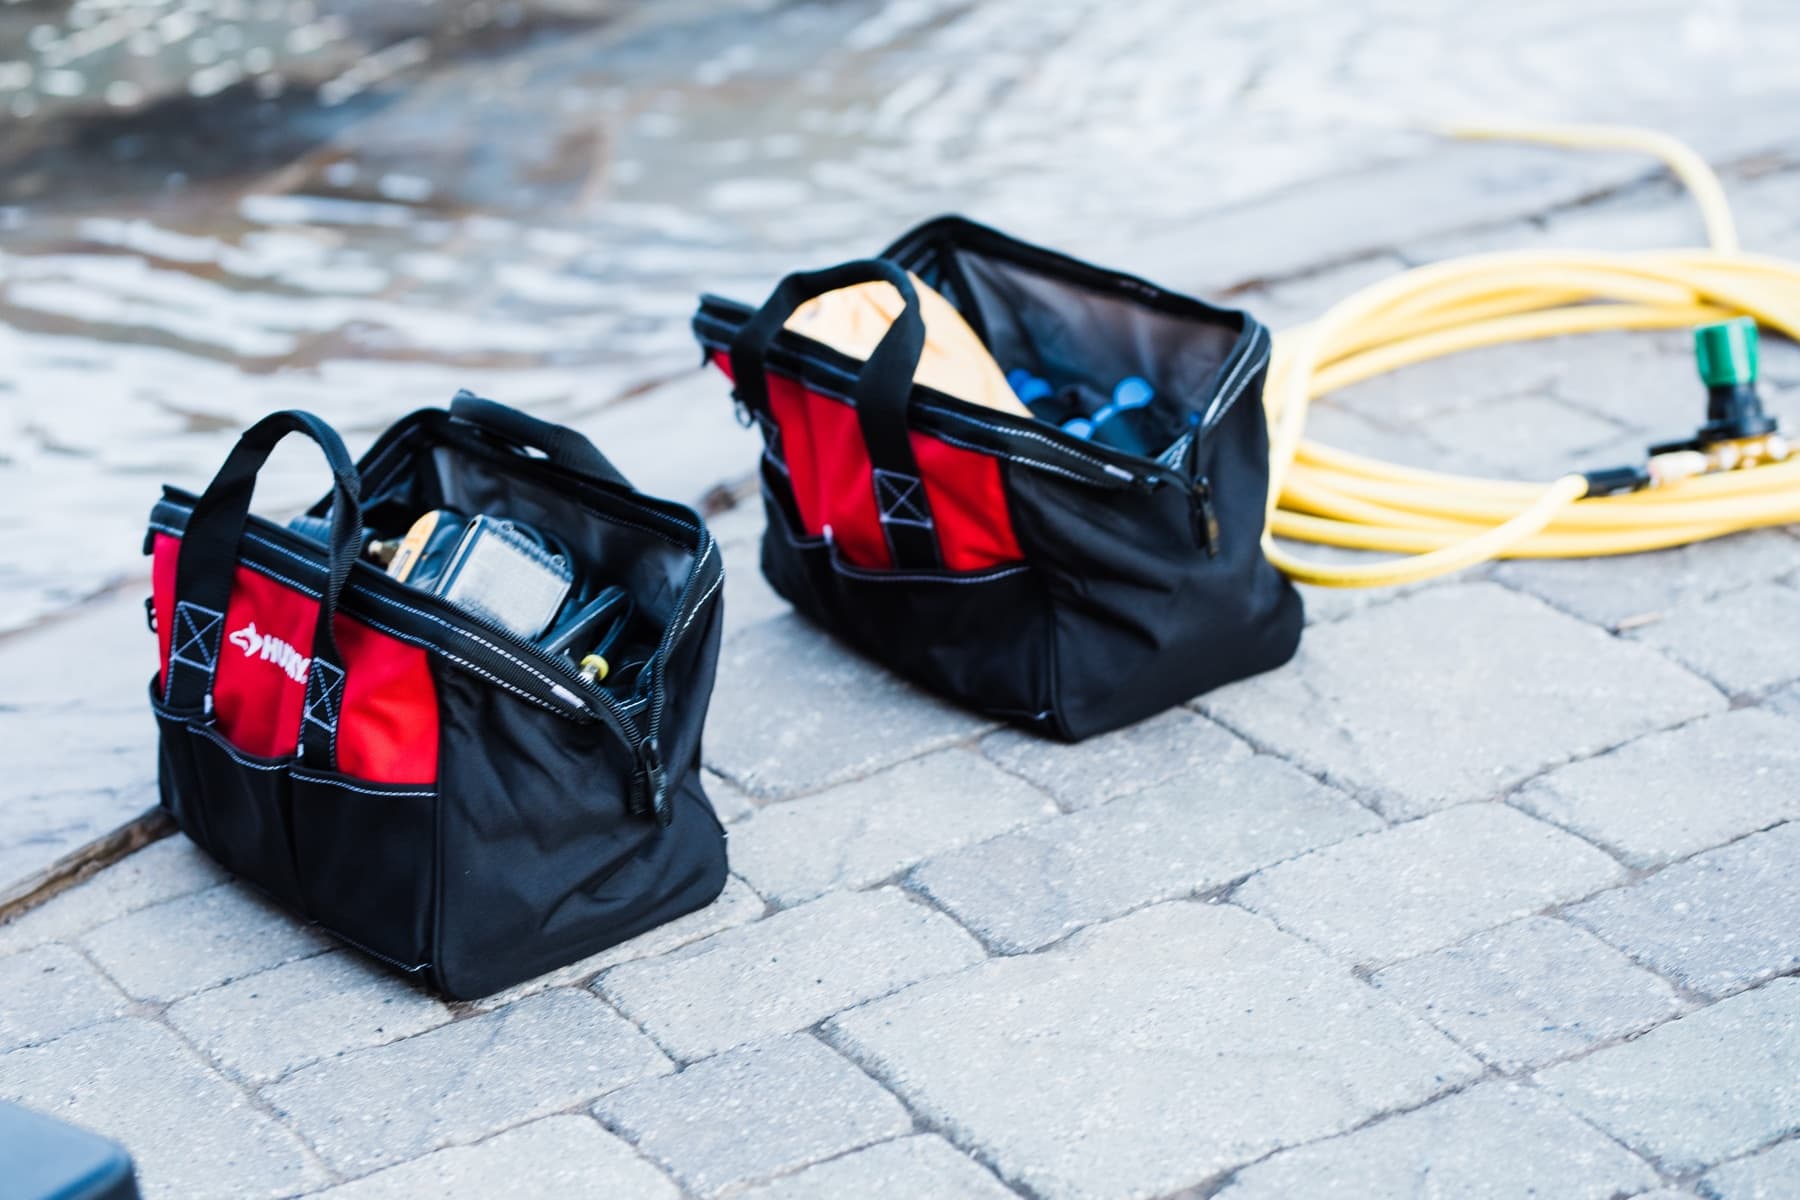
1. Protect People, Equipment, and the Property
Treat safety and property stability as the first decision, not water cost. Close or isolate the affected area if paving has settled, soil has washed out, water is near electrical equipment, or the pool level is falling too quickly for normal circulation. Keep residents away from loose coping, undermined deck edges, and open equipment enclosures.
Do not allow the pump to run dry or operate below the manufacturer's safe water level. A spraying equipment leak, cracked pressurized filter component, electrical concern, or rapidly expanding wet area deserves prompt professional attention. The manager should record why the pool or feature was closed and who made the decision; that creates a clear operational timeline for the board and service vendors.
- Photograph unsafe areas and restrict access
- Confirm the pool remains at a safe operating level
- Shut down visibly damaged equipment when it is safe to do so
- Preserve required water quality and safety checks during the investigation
We test, we don't guess
Seeing this on your own pool? You don't have to figure it out alone — our techs pinpoint the exact source before anyone lifts a tool.
Family-owned · Licensed & insured · We answer the phone
2. Build a Useful Water-Loss Record
An auto-fill can hide a leak for weeks, so record whether it is running and obtain approval before disabling it for a controlled measurement. Mark the water level at a fixed reference point, note the date and time, and record pump schedules, valve positions, spa spillover hours, water-feature operation, recent rainfall, and heavy pool use. Use a bucket test as the evaporation control when site conditions permit.
Take readings at consistent times and avoid changing several variables at once. For a community pool, preserve makeup-water meter data, utility bills, chemical-use records, and lifeguard or maintenance logs. Rising fill-water and chemical demand together can show when the loss began, even if no one saw a puddle. Do not extend a test if the level approaches a skimmer or another unsafe operating point.
3. Give the Leak-Detection Team a Clear System Map
Before the appointment, assemble available as-built plans, remodel records, equipment manuals, prior leak reports, warranty information, and photographs taken before deck or landscape changes. Identify every body of water and circuit: main pool, wading pool, attached spa, splash feature, fountains, water features, dedicated vacuum lines, and any shared or separate equipment.
Arrange access to locked rooms, controllers, valves, and utility areas, and provide a contact who understands the operating schedule. Tell the technician which circuits can be taken offline and when resident programming allows intrusive tests. Better access and history reduce time spent reconstructing the system and help the technician isolate lines without disrupting more of the facility than necessary.
- Current equipment and valve photos
- Pool plans and known underground line routes
- Previous repairs, resurfacing, and deck work
- Water bills, fill-meter readings, and chemistry logs
- Approved testing window and on-site decision maker
4. Authorize Diagnosis Separately From Repair
The first approval should define the diagnostic scope: visual inspection, controlled water-loss confirmation, underwater inspection, and isolation or pressure testing of relevant plumbing. Ask for findings that identify the failed circuit or opening, the evidence used, the likely access area, and any limits that prevented a conclusive result.
That diagnostic record lets a manager compare repair proposals on the same facts. A wet patch alone is not a reliable excavation target because water can travel beneath a slab or along a plumbing trench. For San Antonio and Austin communities built over clay, caliche, or limestone, the visible moisture can be several feet from the failure. Testing before demolition protects reserve funds and gives the board a defensible reason for the selected scope.
5. Close the Loop With Verification and Records
A repair is not complete when the access hole is filled. Require the repaired plumbing circuit to hold a post-repair pressure test, or require the repaired shell or fitting area to pass the appropriate leak check. Repeat water-level monitoring under normal operation before restoring finishes when practical, and photograph concealed work before concrete, pavers, or landscaping cover it.
Keep the diagnosis, proposal, approvals, change orders, test results, warranties, invoices, and final photos together in the community's maintenance record. Update any inaccurate system drawings discovered during the work. After reopening, compare makeup water and chemical demand with the pre-repair baseline. That final check helps the manager show the board that the identified loss stopped rather than merely moved out of sight.